chirpy github 博客搭建-ubuntu20.04
https://chirpy.cotes.page/posts/getting-started/#option-2-github-fork
1. 先决条件
1
2
3
4
5
6
sudo apt-get install ruby-full build-essential zlib1g-dev

echo '# Install Ruby Gems to ~/gems' >> ~/.zshrc
echo 'export GEM_HOME="$HOME/gems"' >> ~/.zshrc
echo 'export PATH="$HOME/gems/bin:$PATH"' >> ~/.zshrc
source ~/.zshrc
1
gem install jekyll bundler
报错1:
ERROR: Error installing jekyll: The last version of sass-embedded (~> 1.54) to support your Ruby & RubyGems was 1.63.6. Try installing it with gem install sass-embedded -v 1.63.6 and then running the current command again sass-embedded requires Ruby version >= 3.1.0. The current ruby version is 2.7.0.0. Fetching bundler-2.5.7.gem ERROR: Error installing bundler: The last version of bundler (>= 0) to support your Ruby & RubyGems was 2.4.22. Try installing it with gem install bundler -v 2.4.22 bundler requires Ruby version >= 3.0.0. The current ruby version is 2.7.0.0.
这个错误表明你当前的 Ruby 版本(2.7.0)太旧,无法支持你尝试安装的 sass-embedded 和 bundler 版本。要解决这个问题,你可以升级 Ruby 版本到 3.1.0 或更高版本。以下是步骤:
1. 升级 Ruby 版本
你可以使用 rbenv 或 rvm 来管理和升级 Ruby 版本。
使用 rbenv:
- 安装 rbenv 和 ruby-build:
1
2
3
curl -fsSL https://github.com/rbenv/rbenv-installer/raw/main/bin/rbenv-installer | bash
export PATH="$HOME/.rbenv/bin:$PATH"
eval "$(rbenv init -)"
- 安装 Ruby 3.1.0(或最新版本):
1 2
rbenv install 3.1.0 rbenv global 3.1.0 - 验证 Ruby 版本:
1
ruby -v
这应该显示你安装的新版本,例如
ruby 3.1.0。 - 重新安装 Jekyll 和 Bundler:
1
gem install jekyll bundler
使用 rvm:
- 安装 rvm:
1
2
\curl -sSL https://get.rvm.io | bash -s stable
source ~/.rvm/scripts/rvm
- 安装 Ruby 3.1.0(或最新版本):
1
2
rvm install 3.1.0
rvm use 3.1.0 --default
- 验证 Ruby 版本:
1
ruby -v - 重新安装 Jekyll 和 Bundler:
1
gem install jekyll bundler
1
2
ruby -v
ruby 2.7.0p0 (2019-12-25 revision 647ee6f091) [x86_64-linux-gnu]
1
2
3
4
5
6
7
8
9
 rbenv versions
  system
* 3.1.0 (set by /home/h/.rbenv/version)

rbenv global 3.1.0
rbenv rehash
ruby -v
ruby 3.1.0p0 (2021-12-25 revision fb4df44d16) [x86_64-linux]
gem install jekyll bundler # 成功
2. 安装 nodejs npm
我们选择 GitHub Fork 安装:
sudo apt install nodejs npm # 版本太旧
安装 nvm(如果尚未安装):
1
curl -o- https://raw.githubusercontent.com/nvm-sh/nvm/v0.39.3/install.sh | bash
然后运行以下命令来加载 nvm(或者关闭并重新打开终端):
1
source ~/.bashrc  # 或者 source ~/.zshrc
安装最新稳定版的 Node.js:
1
nvm install node
这将安装最新的稳定版 Node.js,并自动设置为默认版本。
检查 Node.js 版本:
1
node -v
3. 安装本地博客环境
1
2
3
     git clone https://github.com/deepConnectionism/deepConnectionism.github.io.git
     cd deepConnectionism.github.io
     bash tools/init.sh
1
bundle
报错:
The error message indicates that the version of
html-prooferyou’re trying to install requires Ruby 3.1.1 or higher, but you’re currently using Ruby 3.1.0. Here’s how you can resolve this issue:
解决:
1. Upgrade Ruby to 3.1.1 or Higher
Since html-proofer requires Ruby 3.1.1 or higher, the best solution is to upgrade your Ruby version:
Using rbenv to Upgrade Ruby:
- Install Ruby 3.1.1 (or the latest version):
1
rbenv install 3.1.1 - Set Ruby 3.1.1 as the global version:
1
2
rbenv global 3.1.1
rbenv rehash
- Verify the installed Ruby version:
1
ruby -v
This should display
ruby 3.1.1or a later version. - Install the necessary gems again:
1
2
gem install jekyll bundler
bundle
4. 发布本地服务
1
 bundle exec jekyll s
几秒钟后,本地服务将在 http://127.0.0.1:4000 发布。
5. 使能 github 博客
转到 GitHub 上的仓库。选择“设置”选项卡,然后单击左侧导航栏中的“页面”。在“源”部分(在“生成和部署”下)中,从下拉菜单中选择“GitHub Actions”。
注意:一个账号只能发布一个 博客,多余的请停下来,然后该仓库就可以自动发布了。

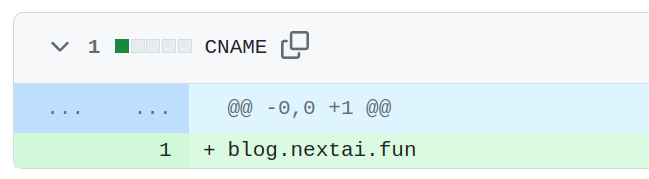
6. 给github 博客绑定阿里云域名.
参考:https://blog.csdn.net/weixin_43074474/article/details/100385705
并且: Enforce HTTPS

7. 使用VScode 在本地编写 markdown 文件
_posts 在文件夹中创建一个 .md 文件。格式命名 year-month-day-title.md。
mkdir _posts
提交,推送即可。
但是我们在本地可以可以预览,但是在网页端失败了。需要修改下:
_config.yml
1
url: "https://deepConnectionism.github.io.git"
然后,我们推送到 github 仓库:
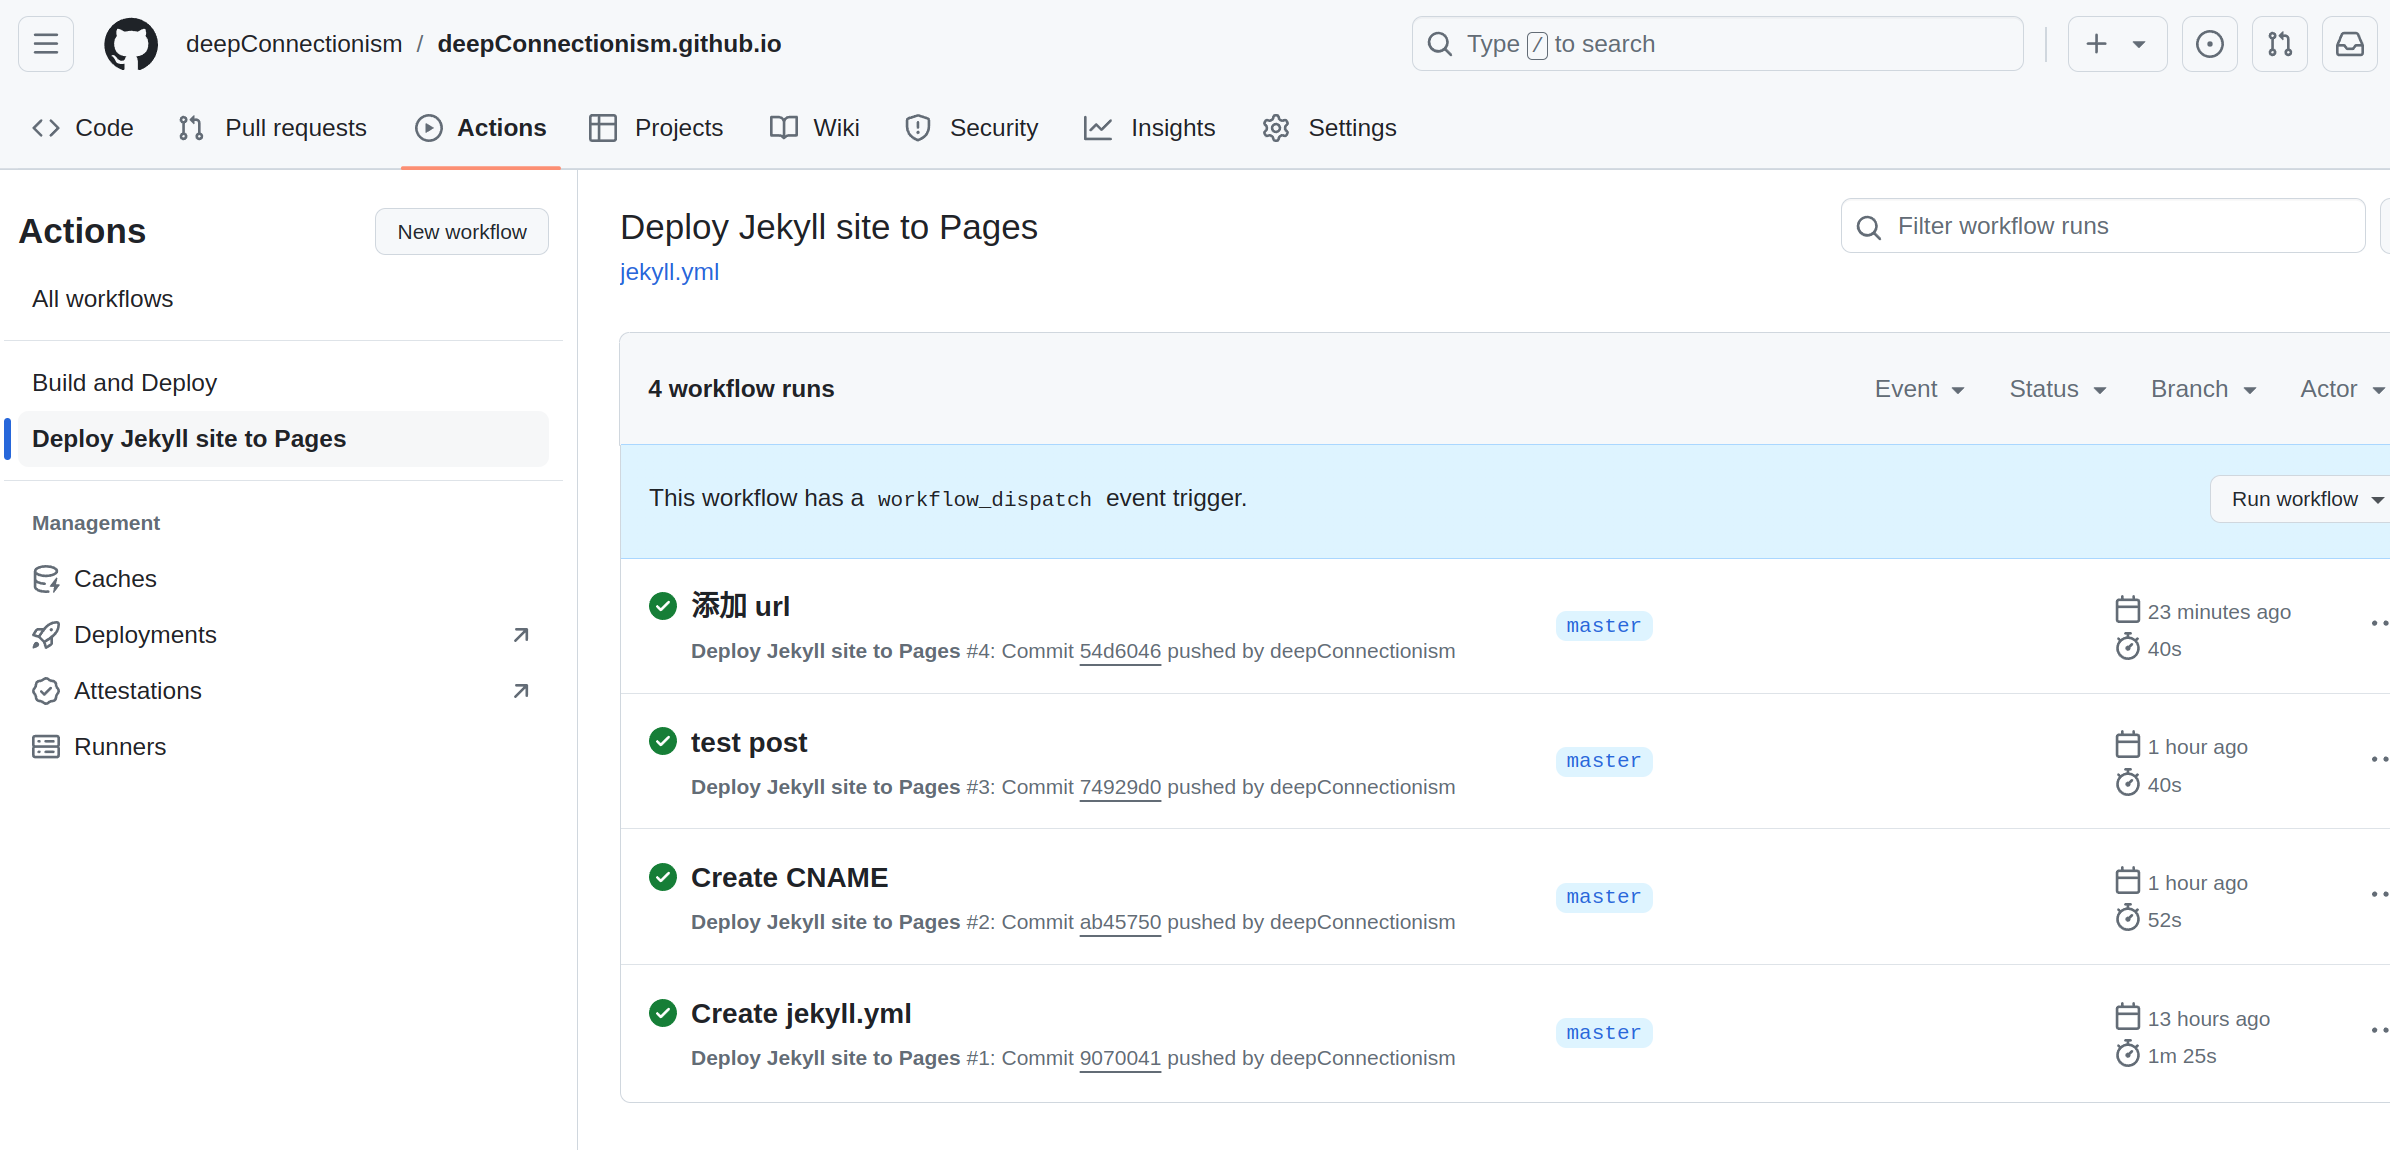
我们发现有些工作流失败了,因此需要 重新运行所有 jobs。 然后在我们的域名上面就可以看到内容了。
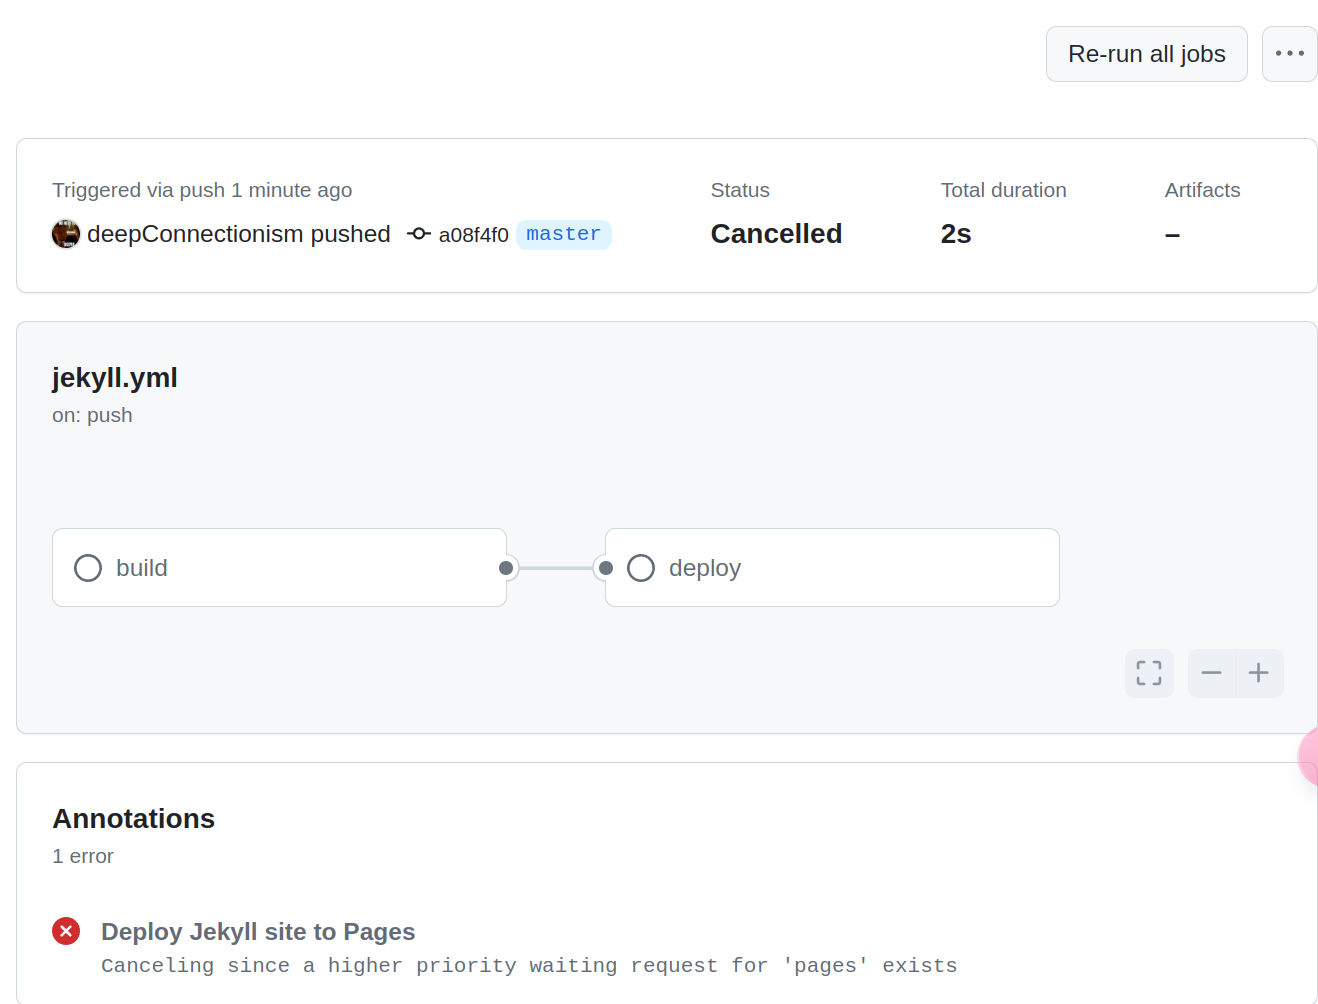
github 的工作流有点问题。我们还是选择:
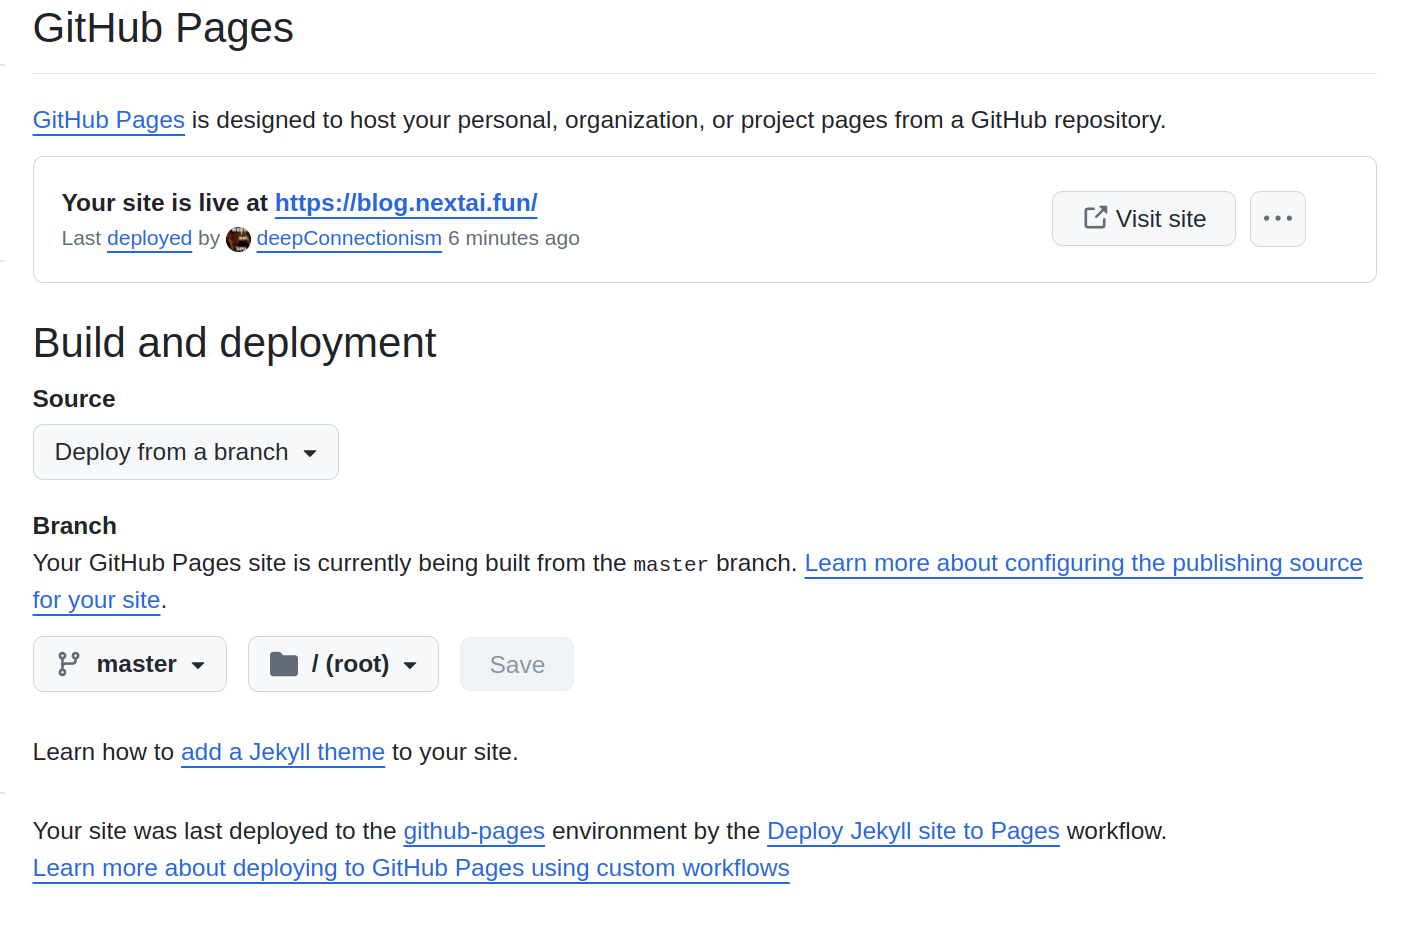
从分支部署吧
https://docs.github.com/zh/pages/setting-up-a-github-pages-site-with-jekyll/troubleshooting-jekyll-build-errors-for-github-pages-sites
8. action 错误问题
.github/workflows/pages-deploy.yml
1
2
3
4
5
# - name: Test site
#   run: |
#     bundle exec htmlproofer _site \
#       \-\-disable-external \
#       \-\-ignore-urls "/^http:\/\/127.0.0.1/,/^http:\/\/0.0.0.0/,/^http:\/\/localhost/"
9. 怎么更新博客文档的名字呢?
修改 markdown 上面的 title 名字即可。而不是修改这个 markdown 的文件的名字。
其他参考:
https://linhandev.github.io/posts/Github-Page/
https://blog.csdn.net/be_racle/article/details/134430177
https://qmmms.github.io/posts/Jekyll%E4%B8%8EGithub-pages%E5%BB%BA%E7%AB%99/#%E4%BD%BF%E7%94%A8%E7%82%AB%E9%85%B7%E4%B8%BB%E9%A2%98
https://www.bilibili.com/video/BV1qs41157ZZ/?p=1&vd_source=2ed6e8af02f9ba8cb90b90e99bd4ccee
https://github.com/NichtsHsu/nichtshsu.github.io?tab=readme-ov-file
https://www.showapi.com/news/article/66b729e74ddd79f11a08deb2
https://zjpzhao.github.io/posts/jekyll-githubpages/#%E7%B2%98%E8%B4%B4%E5%9B%BE%E7%89%87%E5%B7%A5%E5%85%B7-vscode%E6%8F%92%E4%BB%B6paste-image
https://www.xuhao.blog/posts/%E6%A8%A1%E6%9D%BF%E9%94%99%E8%AF%AF%E4%BF%AE%E6%AD%A3%E6%97%A5%E5%BF%97/#%E5%8E%9F%E5%9B%A0